I was recently house sitting for someone and they had a lamp in their living room with one of those big Edison globes that have become so popular these days. If you're not familiar with them they are incandescent bulbs with very long filaments that glow dimly, and they are generally much large than a normal bulb (though you can get small ones too). The lamp in question had a bulb like this, which is about 10 cm in diameter.

I very much enjoyed sitting in the living room under the warm glow of this lamp and decided I needed something similar in my own home. Especially since I've been wanting to get back into reading, but lack of a bedroom lamp has kept me from doing so.
I hate buying new things, so I started browsing online for something second hand and retro (this very nearly led to me buying a lava lamp!), and at one point I ended up on Etsy where I saw a bunch of awesome looking lamps which were Edison globes upwards facing with the socket mounted to a wooden base, under a glass dome. I won’t post pictures because I don’t have permission. They were all quite expensive, but I wanted one, so I decided to build one. So there is really nothing original or unique about this project, I’m essentially just copying something that many others have done. But I thought I would document it all the same.


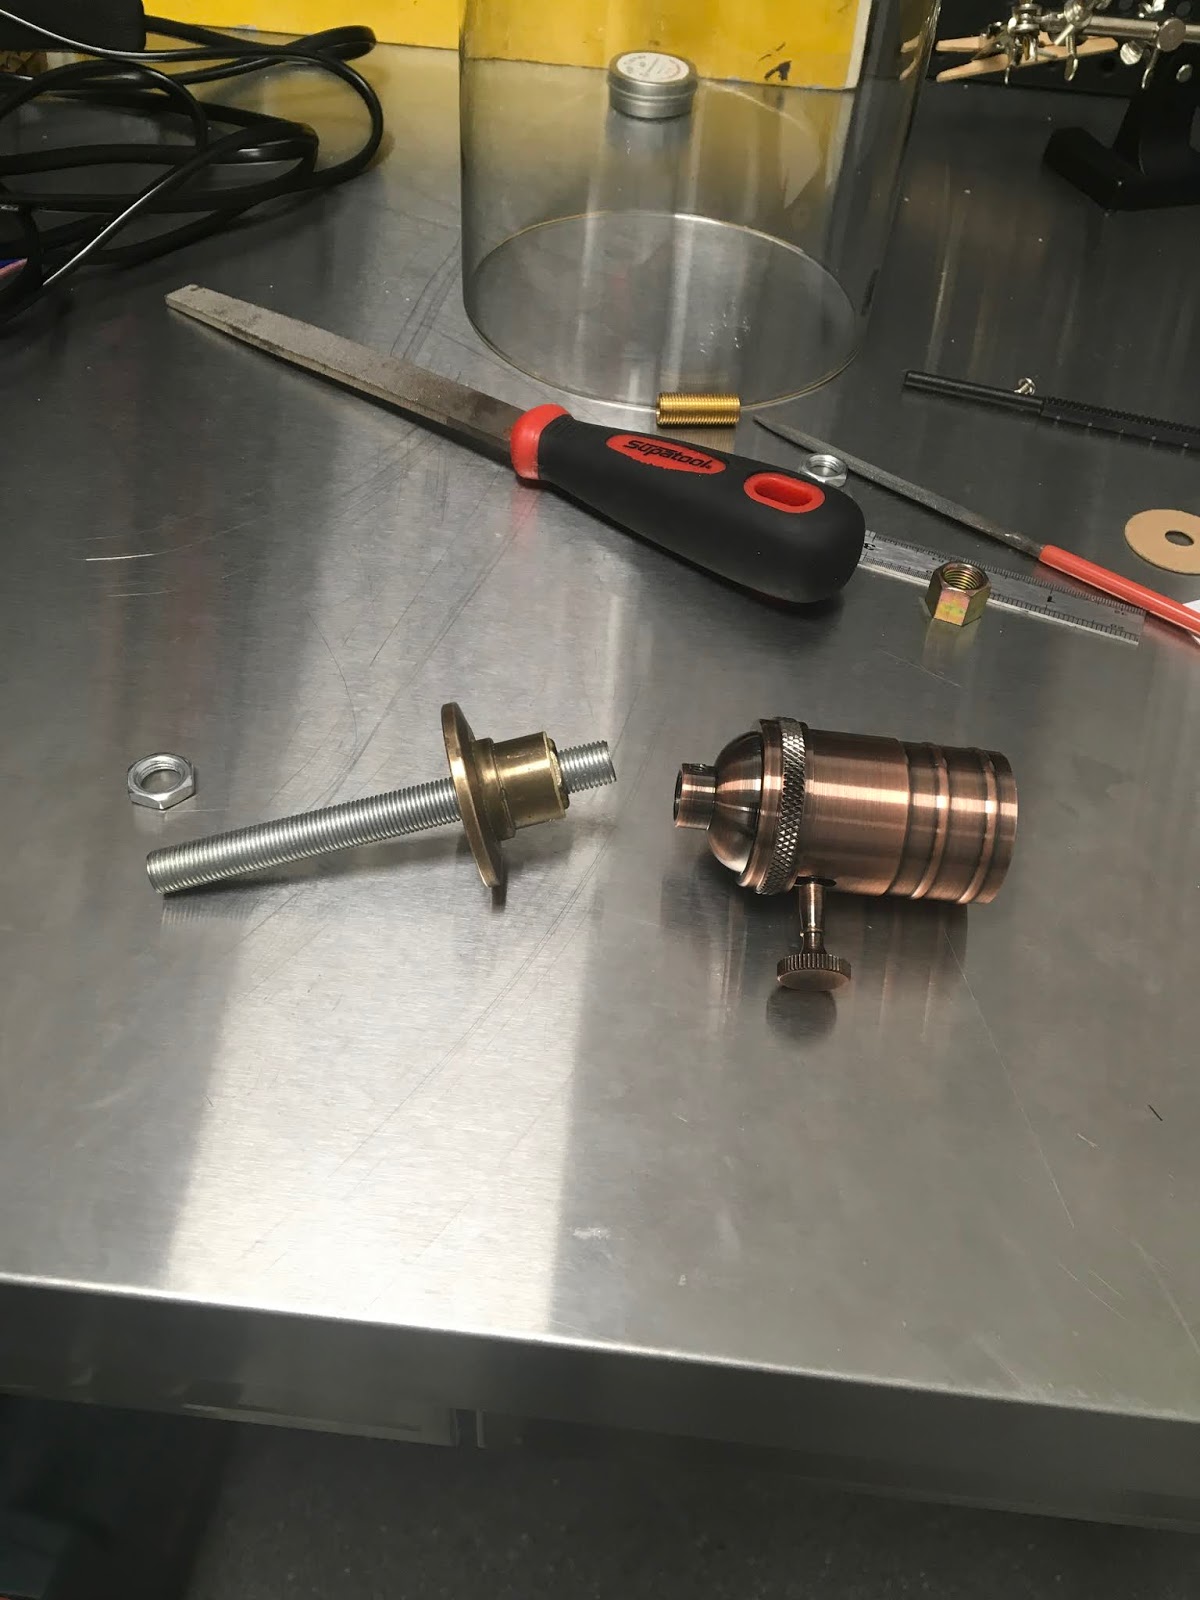
Now came the tricky part. How to mount this to the base? These sockets have a threaded hole on the back that is designed to be screwed onto a threaded pipe. Typically, at least in all the listed sockets that actually specified this, it’s a 1/8 IPS thread. IPS being Iron Pipe Size. This is an older standard that is still used for some things, and is the same as NPS (National Pipe Straight) which is the parallel equivalent of the more common NPT (National Pipe Tapered). Anyhow, a lot of older style light fittings are designed for this pipe standard. And it seems to be particularly common for lamps. I believe it’s a throwback to when lights were fed by gas, but also worked fine as a conduit for electrical wires when that technology emerged. I could be wrong on some of that, it’s the impression I got as I tried to find appropriate parts and figure out what thread I needed. Pipe historians feel free to correct me.

I did eventually find some threaded pipe, just a small section (on the left), in a hardware that specialises in more old fashioned kind of fittings. Unhelpfully labelled as 3/8 thread, it was 1/8 IPS. I knew it wasn’t going to be long enough, but I bought it anyway, along with another piece that was metric 10mm (M10) thread, just in case. When my socket finally arrived in the mail, it was actually M10 and not 1/8 IPS after all. This was actually good news, because I could get some longer M10 pipe from a local lighting place that sells some more obscure items (on the right).
I still didn’t have a base to attach the socket to the wood. I could mount it directly of course, but it wouldn’t look very good. You would think that finding a brass flange of some sort wouldn’t be difficult. Something for the base of a tap, or a draw handle, or curtain rod, or SOMETHING would be about the right size. Nope. I really couldn’t find anything appropriate. Some ceiling roses for hanging lights would probably work, but it’s amazingly hard to find one of appropriate size and style.


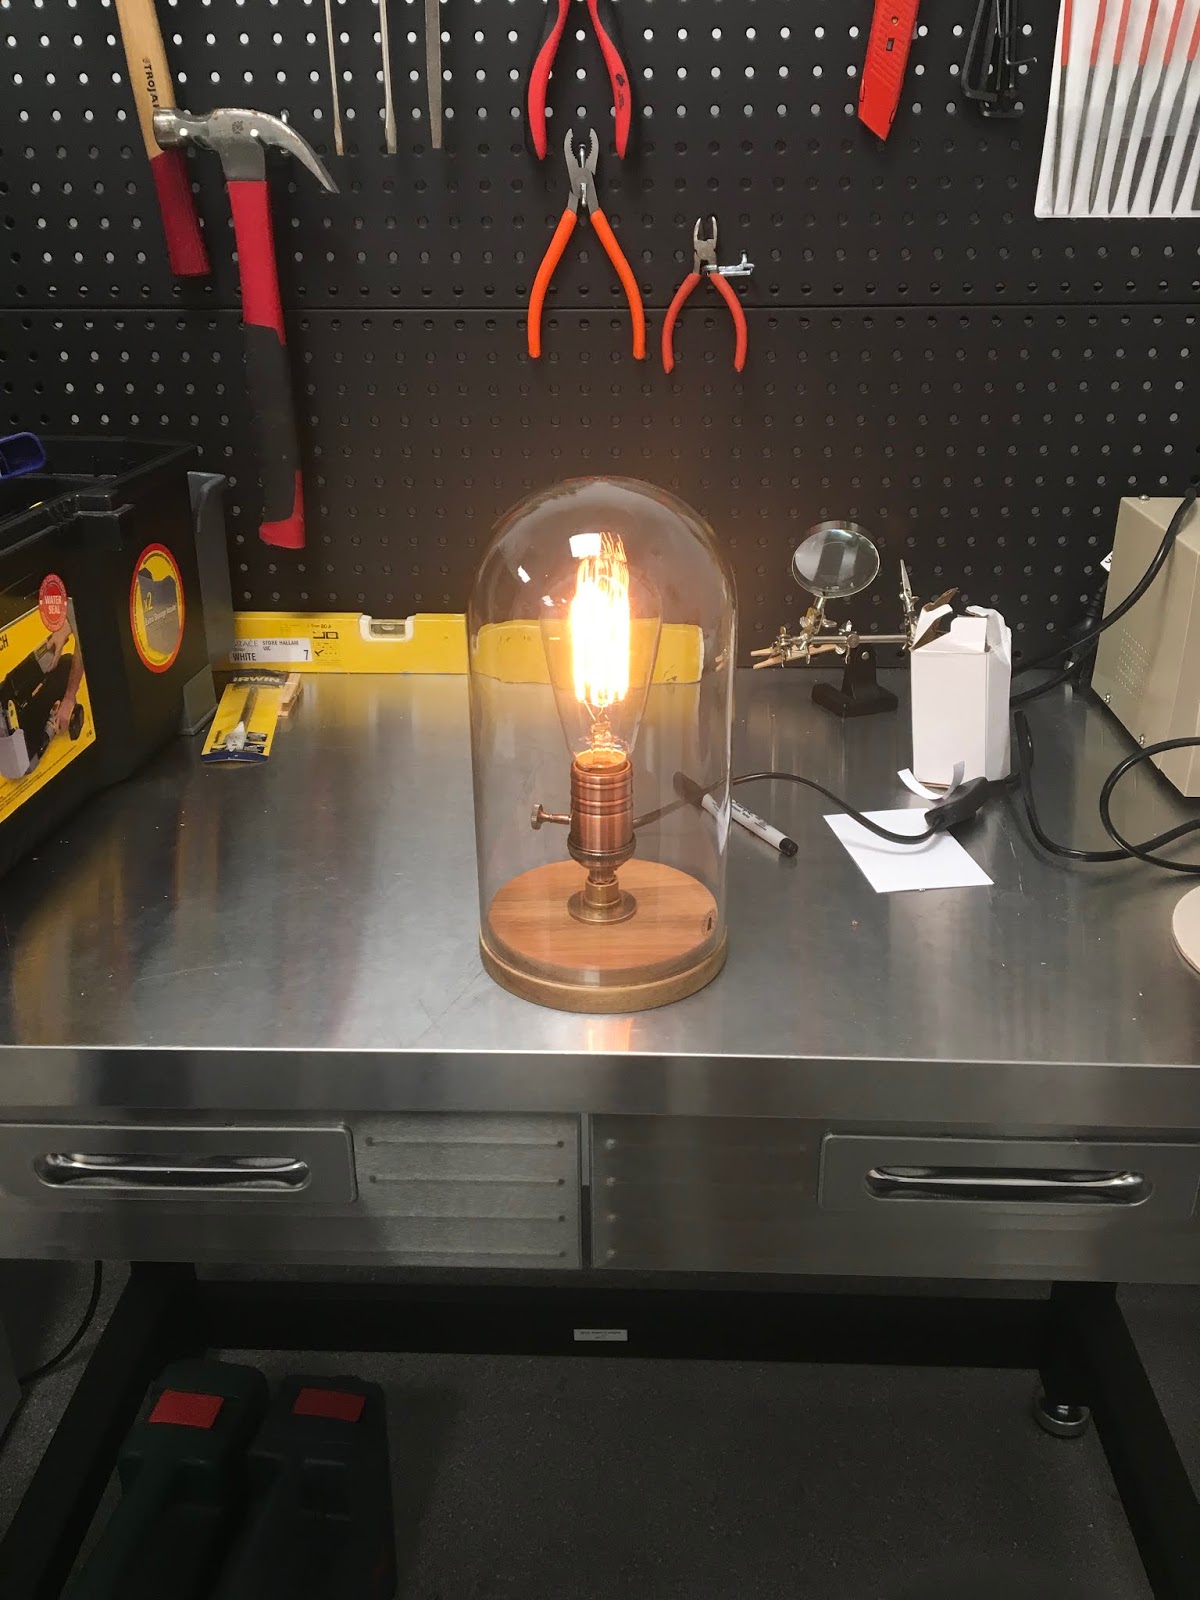

Well that’s it. A short and simple project but I’m really happy with the result!
What could be better? Well I realised once I put this in my room, that I really want a dimmer switch. I should have foreseen that. It’s a good brightness for reading, but I’d like to be able to turn it down when I’m just relaxing. You can get sockets where the dial on the side of the socket functions as a dimmer instead of just an on/off switch, they just tend to look a bit more chunky as they need to house a potentiometer, and so aesthetically that's a compromise. But it’s an option. Alternatively I could replace the power switch on the cable with a dimmer switch - think you can get inline dimmer switches that also click into an off position, if not I could rely on the socket switch to cut power. I think I’ll actually build a second one with some parts from Grand Brass and incorporate a dimmer switch. I’m also not a fan of the power cord, it doesn’t match the rest of the lamp. I bought some nice red twisted cloth cord which will look much nicer. Lastly I'm not sure this is really the best way to construct it, when unscrewing the lighbulb often the whole thing rotates because it's just one column clamped by nuts on each side of the wood. Very difficult to tighten it so much that it can't move at all. Perhaps I need some washers in there, but I think what would be better would be if there were a couple of small holes in the flange and it was screwed to the wood base - but it's really not a big deal.
Post any questions or comments you might have below. Cheers!